
Tools
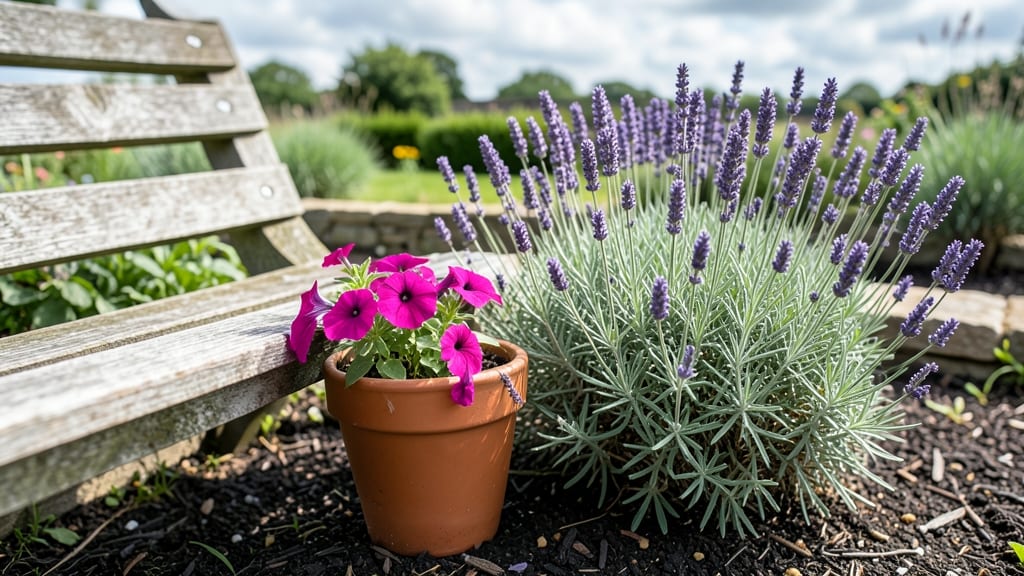
A garden potting shed transforms cluttered corners into organized workspaces where every tool has a home. 🌱 I remember the first time I built one—my garden tools, pots, and seeds finally had a dedicated spot, making spring planting feel like a breeze instead of a scavenger hunt.
The key is built-in shelving and ventilation that keeps supplies dry and accessible. Rustic styles blend with cottage gardens, while modern designs fit sleek backyard layouts. You can even add hooks for hanging tools or a small workbench for potting projects.
With proper placement near your garden beds, you'll save steps and time. A well-designed shed becomes the heart of your outdoor space, making gardening more enjoyable and efficient. Whether you DIY or buy pre-made, the right shed makes all the difference.
Think about your garden's layout and how the shed will flow with your existing space. A little planning now means years of organized gardening ahead!
📚 In This Guide
- What you need
- Instructions
- Tips and common mistakes
- Wrapping up and next steps
What you need
- ● Base Structure: Pressure-treated lumber (e.g., 2x4s, 4x4 posts) – Quantity: ~10–15 pieces (depending on size)
- ● Concrete footings or gravel (for stability) – Quantity: ~4–6 bags or 2–3 cubic feet
- ● Walls & Roof: Plywood or OSB sheets (½" thick) – Quantity: 4–6 sheets (for walls + roof)
- ● Corrugated metal roofing or asphalt shingles – Coverage: Match your shed’s square footage
- ● Exterior-grade screws or nails (2.5"–3") – Quantity: ~2–3 lbs
- ● Shelving & Storage: 1x12 or 1x10 pine boards (for shelves) – Quantity: 4–6 boards (cut to size)
- ● Shelf brackets or L-brackets (heavy-duty) – Quantity: 8–12 brackets
- ○ Pegboard or wire mesh (optional for tool organization)
- ● Essential Tools: Circular saw or miter saw (for cutting lumber)
- ● Drill/driver (with Phillips & square-drive bits)
- ● Level (2–4 ft) – Critical for stability!
- ● Tape measure, speed square, and chalk line
- ● Hammer or nail gun (if using nails)
- ● Ventilation: Small vent fans or louvered windows (to prevent moisture buildup)
- ● Lighting: Solar-powered LED lights or low-voltage wiring
- ● Insulation: Fiberglass batts or rigid foam (for year-round use)
- ● Doors: Pre-hung shed door with a latch or sliding barn door
- ● Decor: Paint (exterior-grade), weatherstripping, or a small workbench
Step-by-Step instructions for building a garden potting shed
Here’s how to create a practical, space-saving workstation that keeps your gardening tools organized and within reach.
🪴 Step 1: Choose and Prepare Your Base Location
Pick a flat, stable spot in your garden that gets partial shade—this protects your tools from extreme heat while keeping them dry. I like to place mine near my vegetable beds so I can easily move pots and supplies between projects. Clear the area of rocks, roots, or debris, then level the ground with a shovel or tamper. A slight slope won’t hurt, but uneven terrain will make your shed wobble over time.
If your soil is soft or muddy, lay down a 4-foot square of landscape fabric to prevent weeds and stabilize the base. This also keeps moisture from seeping into the wood if you build on the ground. For extra durability, add a layer of gravel or crushed stone (about 2 inches deep) before setting the shed down—this improves drainage and prevents rot.
📏 Step 2: Assemble the Frame and Shelves
Start by building a simple frame using 2x4 lumber. Cut two pieces to 4 feet long for the base and two to 3 feet long for the sides, then secure them with 2.5-inch deck screws. This creates a sturdy rectangle that will support your shelves. For built-in shelves, attach 1x6 boards horizontally at 12-inch intervals, starting about 6 inches from the base. This gives you three work surfaces at comfortable heights.
I like to add a small lip (about ½ inch) to the front edge of each shelf to keep tools from sliding off. Use a power drill with a countersink bit to hide screw heads and create a cleaner look. If you’re working with untreated wood, apply a coat of outdoor-rated paint or sealant before assembly to protect against moisture and pests.
✂️ Step 3: Add a Roof and Weatherproofing
For the roof, cut 4-foot-long 1x6 boards to create a sloped design (about 6 inches higher at the back than the front). This helps rainwater run off quickly and keeps tools dry. Secure the roof with 2-inch screws into the frame, then cover it with corrugated plastic or asphalt shingles for weather resistance. If you’re in a windy area, add a small overhang (about 2 inches) on all sides to shield tools from rain.
To keep humidity out, line the interior walls with plastic sheeting or a moisture barrier. This prevents wood rot and mold, especially if you store damp pots or tools inside. Leave a small gap at the bottom of the walls (about ½ inch) to allow airflow—this reduces condensation and keeps the space fresh.
🧰 Step 4: Organize Tools and Supplies
Start by placing larger items like pots, wheelbarrows, or bags of soil on the bottom shelf. This keeps them stable and easy to access. Reserve the middle shelf for tools like trowels, pruners, and gloves—arrange them in a way that makes sense for your workflow. For example, I keep my pruners and shears within arm’s reach of the door so I can grab them quickly during tasks.
Use the top shelf for lightweight items like seed packets, fertilizer, or small containers. Add hooks to the inside of the door or walls for hanging tools like garden hoses or hand pruners. Label shelves or bins with masking tape and a marker—this saves time when you’re in a hurry and can’t remember where you put something.
🔧 Step 5: Final Touches and Maintenance
Once everything’s in place, add a small ventilation fan or screen vents to improve airflow if your shed gets stuffy. This prevents mold and keeps tools from feeling damp. If you’re in a rainy climate, consider adding a clear plastic window on the door to let in natural light while keeping pests out.
Check your shed every few months for signs of wear—tighten loose screws, reapply sealant if needed, and replace any damaged wood. Store seasonal tools (like snow shovels or winter gloves) in waterproof bins to extend their life. With these simple steps, your potting shed will stay functional and organized for years.
Tips & tricks for building a functional garden potting shed
Building a sturdy potting shed isn't just about putting wood together—it's about creating a workspace that actually works for your gardening needs. Here are the key insights I've learned from building mine (and fixing the mistakes that came with it).
Location is Everything: That partial shade recommendation in Step 1 isn't just about comfort—it's about preserving your tools. I learned this the hard way when my first shed's metal tools rusted in just one summer because it sat in full sun. For extra protection, consider adding a small overhang (about 6 inches) on the south side if you're in a hot climate. This creates shade without blocking airflow completely.
Shelf Height Matters: The 12-inch intervals between shelves in Step 2 are perfect for ergonomics, but don't forget to adjust based on your height. I'm 5'6" and found the middle shelf was too low for comfortable pruning work. Adjust the spacing to match your arm's natural resting position when standing—this makes your shed actually usable, not just decorative. A tape measure and a helper make this adjustment easy.
Roof Sloping Secret: That 6-inch slope on the roof in Step 3 might seem small, but it makes a huge difference in rainy seasons. I've seen water pool on flat roofs and cause rot in just weeks. For extra protection, add a small channel along the center of the roof to direct water toward the sides. This simple modification prevents water from sitting on your tools during downpours.
Ventilation Hack: The ½-inch gap at the bottom of walls in Step 3 is crucial, but don't stop there. Add a small vent (about 4x4 inches) near the top of the back wall. This creates a natural airflow pattern that pulls humid air out while letting fresh air in at the bottom. It's like having a tiny air conditioning system for your tools—trust me, your pruners will thank you.
Pro Tips for Garden Potting Shed
- Building a sturdy potting shed isn't just about putting wood together—it's about creating a workspace that actually w...
- Location is Everything: That partial shade recommendation in Step 1 isn't just about comfort—it's about preserving yo...
- Shelf Height Matters: The 12-inch intervals between shelves in Step 2 are perfect for ergonomics, but don't forget to...
Frequently asked questions
Got questions about your garden potting shed?
Here are some common ones—and their answers—to help you get the most out of your space-saving workstation!
What’s the best way to organize tools inside a small potting shed?
Use vertical space with pegboards, wall-mounted racks, or stackable bins. Hang frequently used tools like trowels and gloves near your work area, and store bulkier items (like pots or bags of soil) on built-in shelves. Label containers to keep things tidy and easy to find!
When is the best time to build or install a potting shed?
Spring or early fall is ideal—mild weather makes construction easier, and you’ll have time to enjoy your new space before peak gardening seasons. Avoid winter (unless you’re in a warm climate) to prevent material damage from frost or rain.
Are there budget-friendly alternatives to a traditional potting shed?
Yes! Consider repurposing a shed, greenhouse, or even a large storage box with shelves. DIY options like pallet wood structures or upcycled furniture (like a bookshelf with a roof) can also work. Just ensure proper ventilation and weatherproofing!
How do I keep my potting shed clean and pest-free?
Regularly sweep out debris, store tools and soil in sealed containers, and avoid leaving organic waste (like old plant clippings) inside. Elevate wooden shelves off the ground, and consider adding a dehumidifier or ventilation fan to deter pests like rodents or insects.
Can a potting shed handle rain or snow?
Most potting sheds are weather-resistant, but check for a waterproof roof, sealed walls, and a sturdy foundation. If yours lacks these, add a tarp or extendable awning for extra protection. Snow? Shake it off gently to avoid damaging shelves or tools!
Wrapping up and next steps
A garden potting shed with built-in shelves isn’t just a storage solution—it’s a game-changer for any gardener! 🌱 By maximizing space and keeping tools organized, you’ll spend less time hunting for supplies and more time creating your dream garden.
Whether you’re a seasoned green thumb or just starting, this setup makes gardening effortless and enjoyable.
Ready to transform your gardening routine? Start small: measure your space, gather your materials, and build your first shelf or shelf unit. Before you know it, you’ll have a functional, clutter-free workspace tailored just for you!