
Planting
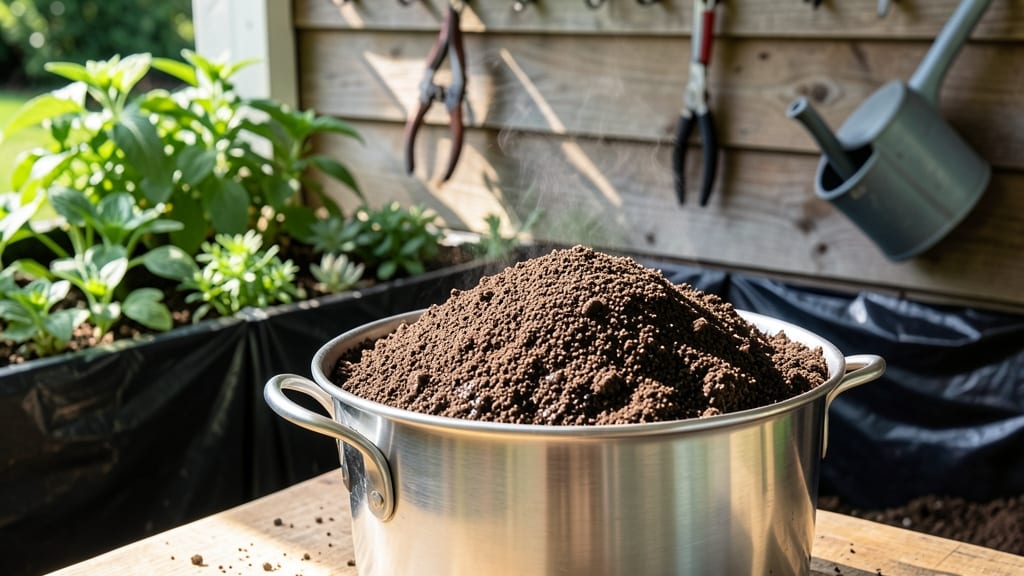
Sterilizing potting soil isn’t just about killing weeds—it’s the secret to starting seeds that actually grow. 🌱 After my first batch of seedlings rotted from contaminated soil, I learned how critical this step is for healthy roots and strong plants.
The microwave method is my go-to because it’s fast, chemical-free, and works with any container size.
You’ll need a microwave-safe container, damp (not soaking) potting soil, and about 2 minutes of your time. Spread the soil in an even layer—no clumps—and cover it loosely with a damp paper towel. This keeps moisture in while letting steam escape, which is key for even sterilization.
The payoff comes when your seedlings emerge with vibrant green leaves instead of yellowing from hidden pathogens. Sterilized soil also reduces transplant shock, so your plants establish faster. It’s especially worth it when repurposing old soil or starting seeds indoors where diseases spread quickly.
For larger batches, consider baking at 200°F for 30 minutes—just stir halfway through. Always let the soil cool completely before planting. This method works for everything from herbs to tomatoes, giving you a clean slate for every growing season.
📚 In This Guide
- What you need
- Instructions
- Tips and common mistakes
- Wrapping up and next steps
What you need
- ● Potting soil: 1–2 cups (or up to the capacity of your microwave-safe container). Tip: Avoid soil with large rocks or debris—sift it first for even heating!
- ● Microwave-safe container: A glass or ceramic dish (like a shallow baking dish or microwave-safe bowl) with a flat, even base (no warping!). Size: Large enough to spread soil in a ½-inch-thick layer.
- ● Microwave: A standard kitchen microwave (1,000–1,500 watts). Pro tip: Check your microwave’s manual for max safe container size!
- ○ Spray bottle: Small, filled with water or hydrogen peroxide (3%) (optional but helpful for dampening soil before microwaving).
- ● Tongs or heat-resistant gloves: To handle the hot container post-sterilization.
- ○ Fine-mesh sieve or sifter: For breaking up clumps after sterilization (optional but recommended).
- ● Aluminum foil: To cover the soil loosely (prevents splatters but allows steam to escape).
- ● Thermometer: To monitor soil temp (ideal: 180–200°F (82–93°C) for 30+ minutes).
- ● Vinegar or bleach solution (1:10 ratio): For disinfecting tools/containers before and after use.
- ● Perforated microwave turntable: If your microwave has one, it helps distribute heat evenly.
Step-by-step instructions for sterilizing potting soil via microwave
Here's the foolproof method I rely on to kill pathogens, weeds, and pests without chemicals.
🌱 Step 1: Prepare Soil for Sterilization
Spread the potting soil evenly across a microwave-safe dish—preferably one with a 12-inch diameter—so it sits no deeper than ½ inch thick. This ensures even heating and prevents uneven sterilization. I like to use a shallow ceramic baking dish because it distributes heat more uniformly than plastic.
Moisten the soil slightly with water until it reaches a consistency similar to a damp sponge. Too dry, and the microwaving won't penetrate effectively; too wet, and you risk uneven cooking. Press down gently to remove air pockets—this helps steam penetrate uniformly during sterilization.
💧 Step 2: Microwave in Short Intervals
Place the dish in the microwave and heat on high power for 2 minutes. Pause and stir the soil thoroughly with a clean spoon or spatula to redistribute any dry spots. This step is critical—uneven heating can leave pockets of viable pathogens or weeds.
Return the dish to the microwave and repeat 2-minute intervals until the soil reaches an internal temperature of 180°F—the threshold that reliably kills most weeds, fungi, and bacteria. Check with a food thermometer inserted into the center of the soil. I've found that 4-6 intervals typically achieve this for most potting mixes.
⏰ Step 3: Cool and Test for Sterility
Remove the dish from the microwave and let the soil cool completely to room temperature—this usually takes 30-45 minutes. The steam released during this phase helps break down residual organic matter, further reducing potential contaminants. Once cool, use a clean spoon to scoop a small sample and press it between your fingers.
If the soil crumbles easily and smells earthy (not musty or sour), it's ready for use. If it still feels damp or retains a strong odor, repeat the microwaving process until it passes this test. Real talk: I've ruined a batch or two by rushing this step—don't skip it.
🌿 Step 4: Condition for Planting
After sterilization, the soil will be dry and crumbly. Mix in ¼ cup of perlite or vermiculite per gallon of sterilized soil to improve aeration and drainage—this prevents compaction that can suffocate roots. I also add a ½ teaspoon of balanced fertilizer to replenish nutrients lost during the sterilization process.
Let the soil sit uncovered for 24 hours to allow any residual moisture to evaporate. This final step ensures the soil is ready for planting without risking overwatering or fungal issues. Store in a sealed container until use to maintain sterility.
Tips & tricks for perfect microwave-sterilized potting soil
Microwaving potting soil might seem unconventional, but it's a game-changer for eliminating pests and pathogens without harsh chemicals. Here's what I've learned after perfecting this method over years of gardening.
The Heat Factor: The 180°F internal temperature is your target—this is the proven threshold where most weed seeds, fungi, and bacteria are reliably killed. I use a food thermometer inserted into the center of the soil to confirm, since microwave power varies by model. If your microwave runs hot, you might reach 180°F in 4 intervals instead of 6.
Timing Secret: Those 2-minute intervals in Step 2 are non-negotiable for even sterilization. The key is stirring thoroughly after each interval—don't skip this! Uneven heating leaves pockets where pathogens survive. I've ruined batches by rushing this step, so take your time. Between us, I've learned that patience here prevents headaches later with moldy plants.
Equipment Wisdom: While any microwave-safe dish works, ceramic distributes heat more evenly than glass or plastic. For larger batches, divide the soil between two dishes rather than overloading one. Remember the ½-inch depth limit—thicker layers won't heat uniformly. Pro tip: Place a microwave-safe bowl of water next to your soil during heating to maintain moisture levels and prevent drying.
Pro Tips for Sterilize Potting Soil
- Microwaving potting soil might seem unconventional, but it's a game-changer for eliminating pests and pathogens witho...
- The Heat Factor: The 180°F internal temperature is your target—this is the proven threshold where most weed seeds, fu...
- Timing Secret: Those 2-minute intervals in Step 2 are non-negotiable for even sterilization. The key is stirring thor...
Frequently asked questions
Got questions about sterilizing potting soil? You’re not alone—here are some of the most common concerns and quick answers to keep your plants thriving in clean, weed-free soil!
Can I reuse sterilized potting soil?
Sterilized soil stays free of pathogens and weed seeds for months, but nutrients deplete over time. Refresh with compost or organic fertilizer every 6–12 months for best results. Avoid reusing soil that’s been contaminated with pests or diseases—sterilize again if needed.
How long does sterilized soil stay safe?
Sterilized soil remains pathogen-free for 3–6 months if stored dry in a sealed container. Moisture speeds up contamination, so keep it in a cool, dark place. For long-term storage, add a thin layer of diatomaceous earth to deter pests naturally.
What if my microwave sterilization didn’t kill all the weeds?
If stubborn weeds or mold survive, repeat the process with higher heat (180°F for 30–45 minutes) or use a different method like baking (250°F for 30 mins). For large batches, consider solarization (covering soil with clear plastic for 4–6 weeks in direct sun).
Are there chemical-free alternatives to sterilization?
Yes! Try these natural methods:
- Solarization: Spread soil in a tray, cover with clear plastic, and leave in full sun for 4–6 weeks.
- Composting: Mix soil with fresh compost (heat kills pathogens naturally over time).
- Vinegar soak: Dilute white vinegar (1:3 vinegar-to-water ratio) and soak soil for 30 mins (rinse well before use).
Will sterilizing kill beneficial microbes in my soil?
Yes, sterilization wipes out all microbes—good and bad. To restore balance, amend sterilized soil with:
- Compost tea
- Worm castings
- Mycorrhizal fungi
Wrapping up and next steps
Sterilizing your potting soil is a simple yet powerful way to give your plants a clean, healthy start—free from pests, diseases, and unwanted weeds!
Whether you’re using the microwave method or another approach, taking this step ensures your seedlings thrive and your garden stays vibrant. Now that you’re armed with the know-how, why not put it to use?
🌱 Next up: Try sterilizing a small batch of soil this weekend and observe how your plants respond! For even more gardening tips, explore our guides on organic fertilizers or seed-starting hacks to keep your green thumb growing stronger.