
How To
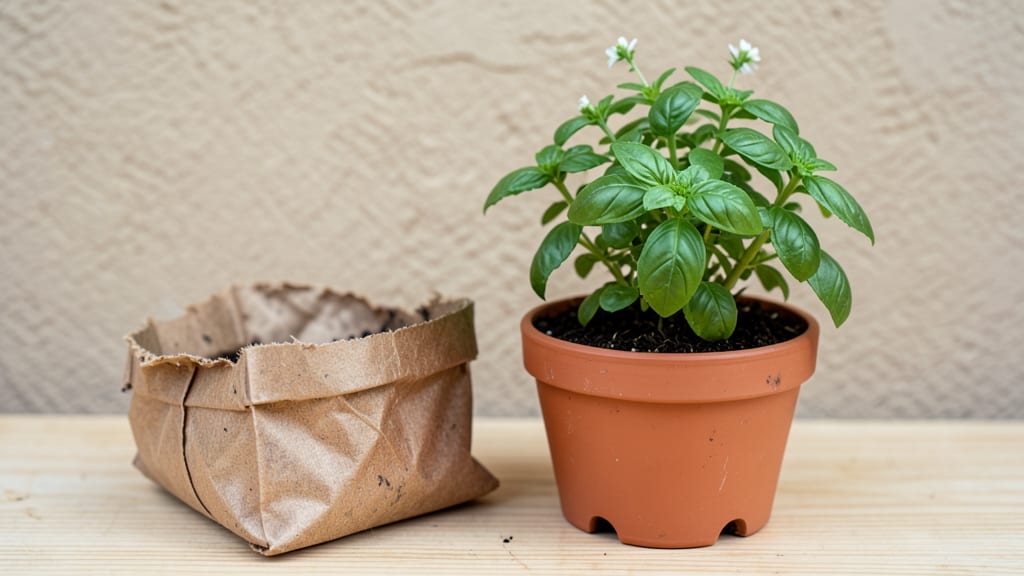
Herbs need soil that drains like a desert but holds moisture like a sponge—potting soil for herbs is the secret to preventing root rot while keeping roots happy. 🌿 I’ve killed more basil than I’ll admit by using the wrong mix, but after years of trial and error, I’ve found the exact blend that keeps my herbs thriving in pots.
The magic is in the ingredients: peat or coconut coir for moisture retention, perlite or vermiculite for aeration, and compost or worm castings for nutrients. Avoid garden soil—it compacts and suffocates roots. A good herb mix should feel light when dry and crumbly when moist, with no clumps.
With the right soil, you’ll see fresh growth in 2-3 weeks, and your herbs will stay productive for months. The difference between a thriving thyme plant and a sad, leggy one often comes down to this one ingredient.
For DIY mixes, start with 60% peat or coir, 30% perlite, and 10% compost. Repot herbs every 1-2 years when roots outgrow the container—this keeps them healthy and happy.
📚 In This Guide
- What you need
- Instructions
- Tips and common mistakes
- Wrapping up and next steps
What you need
- ● Potting soil (base): 60% high-quality organic potting mix (look for labels like "well-draining" or "container mix"). Pro tip: Avoid garden soil—it’s too dense and can compact over time! 💡
- ● Perlite or pumice: 20% coarse perlite or pumice (1-2 mm granules) to improve aeration and drainage.
- ○ Peat moss or coconut coir: 20% peat moss or coconut coir (for moisture retention and structure). Optional swap: Use compost (10%) if your herbs need extra nutrients! ✨
- ● Mixing container: A large clean bucket or wheelbarrow (5-gallon minimum) to blend ingredients thoroughly.
- ● Measuring tools: A scale or measuring cups/spoons for precise ratios (especially if scaling up!).
- ○ Gloves & mask: Disposable gloves and a dust mask (optional but recommended for perlite/pumice dust).
- ● Herb-friendly pots: Containers with drainage holes (3–6 inches deep, depending on herb size).
- ● Worm castings: 5–10% for extra nutrients (great for slow-growing herbs like rosemary or thyme).
- ● Sand (coarse): 5–10% if your mix feels too compact (test by squeezing—it should crumble easily!).
- ● Slow-release fertilizer: A balanced organic fertilizer (like 5-5-5) mixed at 1–2% for a nutrient boost.
How to make a lightweight herb potting mix that prevents root rot
This blend drains fast, stays fluffy, and keeps herbs thriving without soggy roots—exactly what you need for a productive container garden.
🪴 Step 1: Gather the Base Materials
Start with 4 parts potting soil as your foundation—this provides the essential nutrients herbs need to grow. I like to use a high-quality, peat-free mix to avoid compaction. Add 2 parts perlite next; this creates air pockets so roots breathe and excess water drains instantly. Measure carefully—too much perlite makes the mix too loose, while too little defeats the purpose.
For the final base component, include 1 part coarse sand (not fine playground sand—it clogs). This improves drainage further and mimics the well-draining conditions herbs prefer in Mediterranean climates. Mix these three components first in a large bin or wheelbarrow until completely uniform. You'll see the perlite and sand distribute evenly throughout the soil.
🌿 Step 2: Add Organic Amendments for Nutrients
Stir in 1 cup worm castings per 4 gallons of mix—this boosts microbial activity and provides gentle, long-lasting nutrients. I sift the castings through a fine mesh screen first to remove any large chunks that could compact the mix. Follow with ½ cup compost (well-aged, not fresh) to add organic matter without risking heat buildup that can harm tender herb roots.
For extra insurance against root rot, sprinkle in 1 tablespoon of mycorrhizal fungi per gallon of mix. This beneficial fungus helps roots absorb water and nutrients more efficiently while protecting against fungal pathogens. Mix everything thoroughly until you can't see any distinct layers—this ensures even distribution throughout the entire blend.
💧 Step 3: Test and Adjust the Moisture Balance
Fill a container with your mixed blend and water it thoroughly until moisture runs freely from the drainage holes. Let it drain completely, then squeeze a handful—it should hold together lightly but not feel damp. If it's too dry, add a bit more potting soil to bind it. If it feels too wet, incorporate an extra ½ cup perlite to improve aeration.
Here's the thing—herbs hate soggy feet. If you press the mix and water beads form on the surface, it's too dense. The ideal mix should drain within 10-15 minutes when watered from the top. Adjust the perlite-to-soil ratio until you reach this balance. Store any extra mix in a sealed container until needed.
✂️ Step 4: Use Immediately for Best Results
Fill your herb containers with the fresh mix, leaving 1 inch of space at the top for watering. I like to press the soil down gently with my fingers—just enough to remove air pockets but not compact it. Plant your herbs according to their spacing needs (basil needs 8-12 inches apart, while thyme can handle 6 inches).
Water lightly after planting to settle the soil around roots, then let the top inch dry out before watering again. You'll notice herbs planted in this mix stay perky between waterings and develop strong root systems. The key is preventing that soggy feeling—herbs will forgive occasional underwatering but never recover from root rot.
Tips & tricks for perfect herb potting mix
Between us, these little tricks will save you from the heartache of wilting herbs and the frustration of soggy soil. The secret to a thriving herb garden starts with the right mix—and these tips make all the difference.
Layering Matters: When mixing your 4 parts potting soil, 2 parts perlite, and 1 part coarse sand in Step 1, add the perlite first to the soil, then sprinkle the sand on top. This creates better air pockets throughout the entire blend rather than just on the surface. I learned this the hard way after realizing my first batches had sand clumping at the bottom—always mix from lightest to heaviest ingredients!
Screen Those Add-Ins: Before incorporating the 1 cup worm castings and ½ cup compost in Step 2, sift them through a fine mesh screen to remove any large chunks. I use a kitchen strainer for this—it prevents compaction and ensures even distribution. The mycorrhizal fungi (1 tablespoon per gallon) should also be sifted lightly to avoid clumping in the mix.
Drainage Test: The 10-15 minute drainage test in Step 3 is non-negotiable. If your mix drains too slowly, add another ½ cup perlite and remix thoroughly. For faster results, try the "squeeze test": after watering, grab a handful—if water beads form on your fingers, it's too dense. The perfect mix should feel like a damp sponge, not a wet washcloth.
Storage Wisdom: Once mixed, store any extra blend in a sealed container with a loose lid to allow airflow. I keep mine in a large plastic bin with a damp towel over the top to maintain moisture without trapping humidity. This keeps the mix fresh for up to 3 months—just give it a good stir before use to redistribute the perlite and sand.
Pro Tips for Potting Soil For Herbs
- Between us, these little tricks will save you from the heartache of wilting herbs and the frustration of soggy soil. ...
- Layering Matters: When mixing your 4 parts potting soil, 2 parts perlite, and 1 part coarse sand in Step 1, add the p...
- Screen Those Add-Ins: Before incorporating the 1 cup worm castings and ½ cup compost in Step 2, sift them through a f...
Frequently asked questions
Got questions about the perfect potting soil for your herbs? You’re not alone! Here are some of the most common concerns—and their solutions—to help you grow lush, thriving herbs without the guesswork.
What’s the best mix for herbs like basil, cilantro, and mint?
Herbs thrive in a well-draining, lightweight mix with 50% potting soil, 30% perlite or vermiculite, and 20% compost or worm castings. Avoid heavy garden soil—it compacts and suffocates roots, leading to rot. For delicate herbs like parsley, add extra perlite for aeration!
How often should I repot my herbs?
Repot herbs every 12–18 months or when roots crowd the pot (check by gently removing the plant). Signs it’s time: yellowing leaves, slow growth, or soil drying too fast. Spring is ideal—herbs grow fastest then! Use a pot just 1–2 inches larger than the current one to avoid overwatering.
Can I reuse old potting soil for herbs?
Reusing soil isn’t recommended unless it’s been sterilized (bake at 200°F for 30 mins) or you’ve added fresh amendments. Old soil may harbor fungus, pests, or depleted nutrients. For a quick fix, mix it 50/50 with new soil + compost, but replace it fully after 1–2 growing seasons for best results.
What if my herbs wilt even with the right soil?
Wilting often signals overwatering or poor drainage. Let the top inch of soil dry out between waterings, and ensure pots have drainage holes. If roots look mushy (root rot), trim affected areas, repot in fresh mix, and avoid watering for a week. Herbs like rosemary and thyme hate soggy soil—adjust your watering habits!
Are there store-bought soil blends I can use instead of DIY?
Yes! Look for seed-starting mixes or “herb-specific” blends (like FoxFarm or Black Gold). Avoid generic garden soil—it’s too dense. For a budget-friendly option, mix cactus/succulent mix (60%) with compost (40%). Always amend with perlite to boost drainage if the bag doesn’t mention it!
Wrapping up and next steps
Choosing the right potting soil for herbs is the secret ingredient to thriving plants and a bountiful harvest! 🌱 A lightweight, well-draining mix—like the one you’ve learned to create—prevents root rot and keeps your herbs happy and healthy.
Whether you’re a seasoned gardener or just starting, this simple recipe gives you control over your plants’ success.
Now that you’re armed with the knowledge, it’s time to roll up your sleeves and get growing. Start with a small batch, experiment with your favorite herbs, and watch your green thumb flourish! 🌿 Ready to take the next step? Grab your supplies and begin planting today!