
Propagation
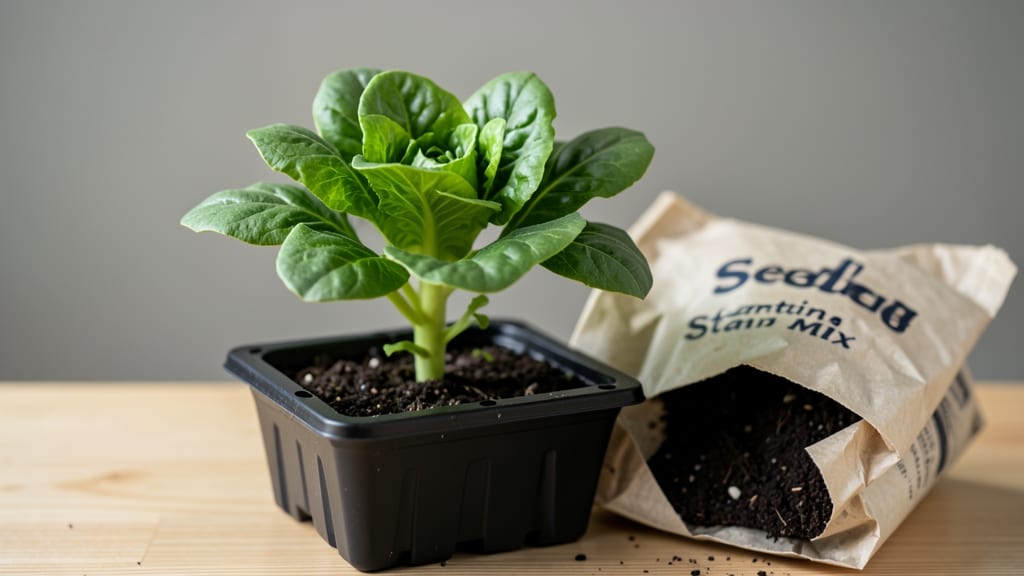
The right potting soil for seeds isn't just dirt—it's the secret weapon behind those first green sprouts breaking through darkness. 🌱 I've seen garden soil kill more seedlings than anything else, and it all comes down to the mix: lightweight, sterile, and packed with the perfect balance of moisture and air.
That's why I developed my own blend after watching my first batch of seedlings rot in heavy garden soil.
This special mix needs three key ingredients: peat moss or coco coir for moisture retention, perlite or vermiculite for aeration, and a touch of compost for nutrients. The goal is a fluffy, crumbly texture that holds water without drowning roots—think of it as a cozy blanket for tiny seeds.
Most commercial seed-starting mixes already have this balance, but DIY blends let you customize for specific plants like succulents or vegetables.
When you use the right mix, you'll see germination happen in half the time—sometimes even in 3-5 days for fast growers like radishes. The soil stays loose enough to avoid damping-off disease while holding moisture where seeds need it most.
That first peek of green is the payoff for getting this foundation right, and it's why I never go back to regular potting soil for starting seeds.
For those starting with garden soil, the biggest mistake is skipping sterilization—pathogens and weed seeds lurk there. If you're mixing your own, start with equal parts peat moss and perlite, then add 10% compost by volume.
Store any extra mix in a sealed bag to keep it fresh until planting season. The difference between a thriving seed tray and a sad, moldy mess comes down to this one simple choice.
📚 In This Guide
- What you need
- Instructions
- Tips and common mistakes
- Wrapping up and next steps
What you need
- ● Potting soil (sterilized, seed-starting mix): 2-3 parts (by volume) – Look for a mix labeled "seed-starting" or "lightweight potting soil" with perlite, vermiculite, or coconut coir.
- ○ Amendments (optional but recommended): 1 part perlite or vermiculite – Improves aeration and drainage (choose one or both; perlite is best for drainage, vermiculite for moisture retention).
- ○ ½ part worm castings or compost – Adds nutrients without compacting the mix (optional for delicate seeds like lettuce or herbs).
- ● Containers: Seed trays, small pots, or biodegradable peat pellets (ensure they have drainage holes).
- ● Tools: Mixing bowl or clean bucket
- ● Gloves (to protect hands from soil and sharp perlite)
- ● Sterilize your soil: If reusing containers or soil, bake at 200°F (93°C) for 30 minutes to kill fungi/bacteria. 🌡️
- ● Adjust moisture: Add a sprinkle of water to the mix before planting to help seeds settle.
- ● Seed-specific tweaks: Delicate seeds (e.g., orchids) may need extra perlite (50%) for airflow.
Step-by-Step guide to creating the perfect seed-starting soil mix
Here's how I blend a custom lightweight mix that speeds up germination and prevents seedling rot.
🌱 Step 1: Combine Base Materials for Airy Texture
Start with 50% peat moss—this holds moisture while staying loose. I sift it first to break up any clumps, because fine particles create better seed-to-soil contact. Add 30% perlite next; this volcanic rock prevents compaction and lets roots breathe. Measure carefully—too much perlite dries out the mix too fast.
Mix these two together by hand until evenly distributed. The goal is a fluffy, almost crumbly texture that crumbles between your fingers. If it feels dense, add a little more perlite. This base gives seeds the perfect balance of moisture retention and aeration they need to sprout quickly.
💧 Step 2: Add Moisture-Retaining Components
Now stir in 15% vermiculite—this mineral holds water near seeds while still allowing airflow. I sprinkle it gradually so it doesn't create pockets. For the final 5%, add worm castings—these provide gentle nutrients without burning tender seedlings. The castings also improve microbial activity, which helps seeds break dormancy faster.
Mix everything thoroughly until the worm castings are evenly distributed. The soil should look dark and uniform, with no obvious streaks of perlite or vermiculite. Gently squeeze a handful—it should hold together lightly but not feel wet or sticky. If it's too dry, mist with water until it reaches that perfect damp-but-not-soggy consistency.
☀️ Step 3: Sterilize and Condition the Mix
Spread the blended mix on a clean tray and microwave it in 1-minute intervals until the center reaches 160°F. This kills any fungal spores that could cause damping-off. Let it cool completely before using—hot soil can scorch seeds. I always do this step because even high-quality materials can carry pathogens from the nursery.
Once cooled, add 1 tablespoon of a balanced seed-starting fertilizer (5-5-5 ratio) per 4 gallons of mix. Work it in gently with your fingers so it doesn't create hot spots. The fertilizer gives seedlings a gentle nutrient boost right from the start. Store any extra mix in an airtight container until ready to use—it stays fresh for up to 3 months.
✂️ Step 4: Test and Adjust for Ideal Germination Conditions
Fill a small container with your mix and plant a few test seeds. Keep it in a warm spot (75-80°F) and check daily. If seeds germinate within 5-7 days, your mix is perfect. If germination takes longer than 10 days, add more vermiculite to retain moisture. If seedlings appear weak or leggy, increase the perlite for better aeration.
This mix works for almost any seed—just adjust the moisture slightly based on seed type. Fine seeds like lettuce need slightly more vermiculite, while larger seeds like beans benefit from a touch more peat for moisture retention. The key is consistency: once you find your perfect ratio, stick with it for reliable results every time.
Tips & tricks for perfect seed-starting mix
Here's what I learned after testing this mix for years—these little tweaks make all the difference between healthy seedlings and sad, wilty failures.
Texture is Everything: When mixing your 50% peat moss and 30% perlite in Step 1, don't just eyeball it—use a kitchen scale for precision. The goal is a texture that crumbles like fine sandpaper, not dense like playground dirt. I've ruined batches by skipping this step, and the seeds just wouldn't germinate properly. Think "light and airy" like a cloud you could plant in.
Sterilization Safety: That 160°F center temperature in Step 3 is non-negotiable for killing pathogens, but don't microwave in one continuous blast. The 1-minute intervals prevent overheating in some spots while others stay cold. I use a meat thermometer to check the center—if it's not 160°F, keep going. And seriously, let it cool completely before using—hot soil will cook your seeds instead of helping them grow.
Moisture Balance: In Step 2, when you're checking that "damp-but-not-soggy" consistency, squeeze a handful gently. Water should bead up on the surface but not drip out. For fine seeds like lettuce, add an extra teaspoon of vermiculite per 4 gallons—it helps retain moisture without suffocating tiny roots. I've seen seedlings rot when the mix was too wet, and it's heartbreaking after all that prep work.
Storage Wisdom: That 3-month freshness window in Step 3 assumes you're storing it in an airtight container in a cool, dry place. If you notice mold or musty smells before then, toss it—those spores can spread to your seedlings faster than you can say "damping-off." I keep mine in a sealed plastic bin with a silica gel packet to absorb any excess moisture that might develop over time.
Pro Tips for Potting Soil For Seeds
- Here's what I learned after testing this mix for years—these little tweaks make all the difference between healthy se...
- Texture is Everything: When mixing your 50% peat moss and 30% perlite in Step 1, don't just eyeball it—use a kitchen ...
- Sterilization Safety: That 160°F center temperature in Step 3 is non-negotiable for killing pathogens, but don't micr...
Frequently asked questions
Got questions about potting soil for seeds?
You’re not alone! Whether you’re a first-time gardener or a seasoned green thumb, these frequently asked questions will help you pick the perfect mix for your seedlings. Let’s dive in!
What’s the best potting soil for seeds?
Look for a seed-starting mix labeled "lightweight" or "sterile." These blends are designed to be fluffy, well-draining, and free of weeds or pathogens. Avoid garden soil or potting mixes with high organic matter—these can compact, suffocate roots, or harbor pests. Pro tip: Mix in perlite or vermiculite (10-20%) for extra aeration!
Can I reuse potting soil for seeds?
Not recommended! Old potting soil may harbor fungi, bacteria, or weed seeds, slowing germination or killing seedlings. If you must reuse it, sterilize it first by baking at 200°F (93°C) for 30 minutes or soaking in a 10% hydrogen peroxide solution for 30 minutes. Fresh is always best!
How often should I water seed-starting soil?
Keep the soil consistently moist but never soggy. Water gently from the bottom (using a tray) or top lightly with a spray bottle to avoid displacing seeds. Check moisture daily—stick your finger in 1 inch deep. Overwatering causes rot, while underwatering leads to dormancy. Aim for 60-70% moisture (like a damp sponge).
What if my seeds aren’t germinating?
First, check if the soil is too cold (most seeds need 65-75°F). Try these fixes:
- Warmth: Place trays on a seedling heat mat or near a sunny window.
- Light: Use a grow light 12-16 hours/day if natural light is weak.
- Depth: Some seeds (like tomatoes) need ¼ inch deep; others (like lettuce) prefer just pressed into soil.
- Fresh soil: If mold appears, discard and replant in sterile mix.
Are there alternatives to store-bought seed-starting soil?
Yes! DIY blends work well if you’re on a budget. Try:
- 50% peat moss + 30% perlite + 20% coco coir (sterile and airy).
- 1 part compost + 2 parts vermiculite (for moisture retention).
- Newspaper shreds (boiled first!) + sand (for drainage).
Wrapping up and next steps
Choosing the right potting soil for seeds is your first step toward a thriving garden—lightweight, nutrient-rich mixes like coconut coir, perlite, and peat moss give seedlings the perfect start! 🌱 With the right blend, you’ll see faster germination and stronger roots, setting your plants up for success.
Now that you’re equipped with the knowledge, it’s time to roll up your sleeves and get planting—your green thumb is closer than ever!
Need a little extra confidence? Start with a small batch of seeds and experiment with your mix. Happy growing! 🌿