
Planting
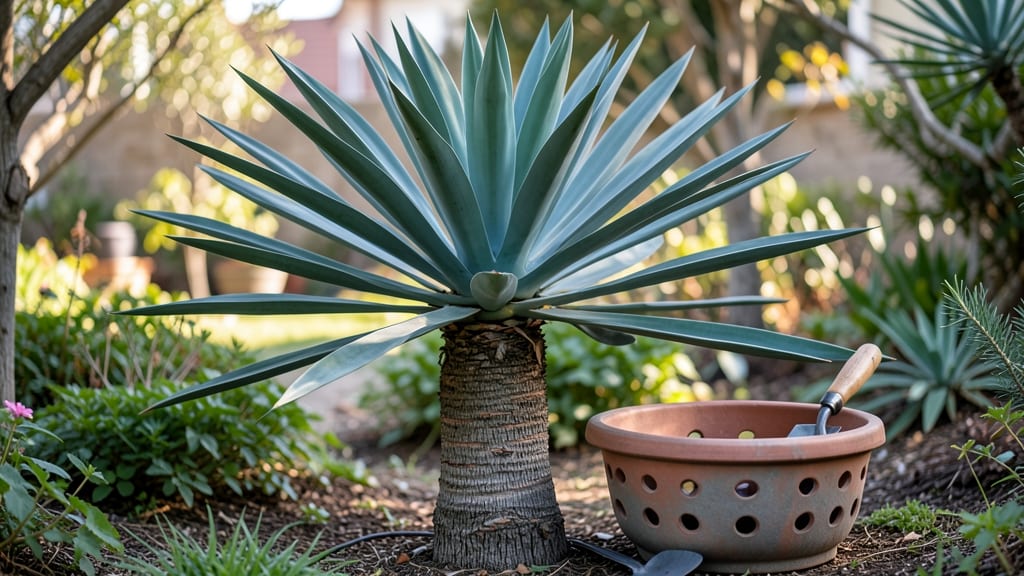
Mastering the yucca plant repotting trick is easier than you’d expect—when your yucca’s roots spiral out of its pot like tangled vines, it’s time for a root-bound rescue. 🌱 I’ve repotted dozens of yuccas, and the key is timing: wait until spring. when new growth signals the plant’s ready for fresh space.
Overcrowded roots mean stunted growth, so don’t wait until the roots burst through drainage holes—that’s a stress signal your yucca can’t ignore.
The right setup makes all the difference: grab a pot 2-3 inches wider than the current one, a fast-draining cactus/succulent mix, and a handful of gravel for drainage. Yuccas hate soggy roots, so skip the fancy compost—this plant thrives in gritty, well-aerated soil that mimics its desert origins.
Most gardeners overcomplicate it, but the truth is, yuccas are forgiving as long as you get the drainage right.
After repotting, your yucca will reward you with bold new growth within weeks—think thick, sword-like leaves reaching for the sky. The secret is minimal watering for the first 7-10 days (just enough to settle the soil), then letting it dry completely between waterings.
Too much love now means root rot, and nobody wants to watch their desert plant turn mushy.
Pro tip: If your yucca’s leaves start yellowing after repotting, it’s not a disaster—just a sign it’s adjusting. Most plants bounce back in 2-3 weeks with proper care.
And here’s the best part: a well-repotted yucca can live for decades with minimal fuss, making it the ultimate low-maintenance houseplant for busy gardeners.
📚 In This Guide
- What you need
- Instructions
- Tips and common mistakes
- Wrapping up and next steps
What you need
- ● New pot: 1-2 inches larger in diameter than the current pot (ensure it has drainage holes). Pro tip: Terracotta or ceramic pots work best for yuccas!
- ● Well-draining potting mix: 2-3 gallons (use a cactus/succulent blend or mix with perlite/pumice for aeration).
- ● Gloves: 1 pair (to protect from thorns and soil).
- ● Trowel or small shovel: 1 (for scooping soil and lifting the plant).
- ● Watering can or spray bottle: 1 (for post-repotting hydration).
- ○ Pruning shears (optional but handy): 1 pair (to trim dead roots or overgrown foliage).
- ● Root stimulator: 1 small bottle (to encourage faster root growth).
- ● Mulch or pebbles: Small bag (for decorative top layer and moisture retention).
- ● Plant support (if needed): 1 stake or cage (for tall or top-heavy yuccas).
- ● Old newspaper or cardboard: 1 sheet (to protect surfaces during repotting).
Step-by-Step instructions for repotting a root-bound yucca
Here's the straightforward method I use to refresh yucca roots without stressing the plant.
🪴 Step 1: Choose the Right Container and Drainage
Select a pot only 1-2 inches larger in diameter than the current one—yuccas hate being overpotted. Terracotta works best because it breathes and prevents root rot. Check for drainage holes; if missing, drill 3-4 ¼-inch holes in the bottom. I always add a 1-inch layer of gravel or lava rock at the bottom to improve drainage and prevent soil compaction.
Yuccas despise soggy roots, so this extra drainage layer is non-negotiable. If your pot has no feet, place it on a saucer to catch excess water. The goal is to mimic their desert origins—dry feet, not wet.
✂️ Step 2: Remove the Plant and Inspect the Roots
Water the yucca 24 hours before repotting to reduce stress. Gently squeeze the sides of the current pot to loosen the root ball, then tip it sideways and ease the plant out. If roots are circling tightly around the root ball, use a sterile knife to make 2-3 vertical cuts through the center to encourage outward growth. This is called "root pruning" and helps prevent future root-bound issues.
Examine the roots for any mushy, brown sections—these indicate rot and should be trimmed away with clean, sharp scissors. Healthy roots are firm, white, and fibrous. If you see a lot of roots growing out of the drainage holes, it's definitely time to repot.
🌱 Step 3: Prepare the New Pot with Fresh Soil
Fill the bottom of the new pot with 2-3 inches of cactus or succulent mix—yuccas need soil that drains like sand. I mix in 20% perlite or pumice to lighten the blend further. Add enough soil to bring the plant to the same height it was in the old pot. Yuccas don't like being buried too deep, so leave 1 inch of the stem above the soil line.
Gently place the yucca in the center of the pot and hold it steady while filling in around the sides with more soil mix. Press lightly to remove air pockets, but don't compact it—yucca roots need air to breathe. Water lightly after planting to settle the soil, but don't soak it.
💧 Step 4: Water Sparingly and Monitor Recovery
Hold off on watering for 5-7 days to let any disturbed roots heal. When you do water, soak thoroughly until water runs out the drainage holes, then empty the saucer immediately. Yuccas store water in their leaves, so they prefer dry conditions over soggy soil. You'll know it's time to water again when the top 2 inches of soil feel completely dry.
Place the repotted yucca in a spot with bright, indirect light for the first week to reduce stress. Avoid direct sun until new growth appears—usually within 3-4 weeks. If leaves start yellowing, you're overwatering. If they wrinkle, it's underwatering.
☀️ Step 5: Resume Normal Care and Fertilize Lightly
After two weeks, gradually reintroduce the yucca to its usual light conditions. If it was outdoors, move it back to its original spot. Yuccas are drought-tolerant, so fertilize lightly only in spring and summer with a balanced 10-10-10 fertilizer diluted to half strength. Too much fertilizer can burn the roots, especially in a newly repotted plant.
Watch for new growth at the base of the plant—this is your sign that the roots are settling in. If the yucca produces flower stalks within a few months, that's a great indicator it's happy and thriving in its new home. Repotting stress often triggers blooming, so don't be surprised if you see a dramatic spike.
Tips & tricks for perfect yucca repotting
These simple strategies will help you refresh your yucca's roots without causing stress to the plant.
Pot Size Matters: The 1-2 inch larger pot rule is critical—any bigger, and you risk creating a soggy environment that yuccas despise. I've seen people use pots that are 3-4 inches larger, thinking "more room is better," but this actually encourages root rot. Stick to that 1-2 inch guideline, and your yucca will thank you with vigorous new growth.
Root Pruning Technique: When you see those tight root circles in Step 2, don't just pull them apart—make those clean vertical cuts through the center. This isn't just about loosening roots; it's about encouraging outward growth. I've found that making 2-3 precise cuts (rather than just one) gives the roots more surface area to expand into the fresh soil, preventing future root-bound issues.
Soil Layering Strategy: That 2-3 inches of cactus mix in Step 3 is your foundation, but here's the pro move: Add the perlite or pumice to the bottom third of the soil mix, not just sprinkled on top. This creates better drainage from the very bottom up, mimicking the natural desert conditions yuccas thrive in. The top layer should be pure cactus mix to provide nutrients while the lower layers handle drainage.
Post-Repotting Light Management: The bright, indirect light recommendation in Step 4 is perfect, but here's what nobody tells you—yuccas actually appreciate a gradual light increase. Start with that bright indirect light for the first week, then slowly move to more direct sun over 2-3 weeks. This prevents sunburn on the leaves as they adjust to their new environment. I've seen repotted yuccas get leaf scorch when moved to full sun too quickly.
Pro Tips for Yucca Plant Repotting
- These simple strategies will help you refresh your yucca's roots without causing stress to the plant.
- Pot Size Matters: The 1-2 inch larger pot rule is critical—any bigger, and you risk creating a soggy environment that...
- Root Pruning Technique: When you see those tight root circles in Step 2, don't just pull them apart—make those clean ...
Frequently asked questions
Got questions about repotting your yucca plant? You’re not alone! Here are some of the most common concerns—and straightforward answers—to help you tackle the task with confidence.
How often should I repot my yucca plant?
Repot your yucca every 2–3 years or when roots start circling the pot (a sign it’s root-bound). Overwatering or slow growth? That’s your cue to check the roots. Yuccas thrive in snug spaces, so don’t rush—wait until you see roots poking through drainage holes or the plant struggling to absorb water.
What’s the best time of year to repot a yucca?
Spring or early summer is ideal! This gives your yucca time to establish new roots before winter dormancy. Avoid repotting in fall or winter—cool temps slow recovery. If you must repot outside these windows, choose a mild day and keep the plant in bright, indirect light for a few weeks to reduce stress.
Do I need to water my yucca immediately after repotting?
Nope! Wait 1–2 weeks before watering to let roots heal and adjust. Overwatering fresh soil can drown tender new roots. After the wait, water thoroughly but sparingly—yuccas hate soggy soil. Stick your finger in the soil; if it’s dry 2 inches down, it’s time to hydrate.
Can I repot a yucca in its current pot with fresh soil?
Not ideal! While adding fresh soil helps, yuccas need more space to grow. If roots are tightly packed, upgrade to a pot 1–2 inches wider. For a quick fix, trim circled roots and refresh the top 2–3 inches of soil—but plan to repot fully within a year. Think of it like a root vacation!
My yucca’s leaves are turning yellow after repotting—what’s wrong?
Yellowing leaves usually mean root shock or overwatering. First, check the soil—if it’s damp, hold off on watering. If roots look mushy or black, trim the damaged ones and repot in fresh, well-draining mix. Move the plant to bright, indirect light and avoid fertilizing for 4–6 weeks. Patience is key—healthy growth should return in 2–3 weeks!
Can I reuse the old soil when repotting my yucca?
No, toss the old soil! It’s likely depleted of nutrients and may harbor pests or diseases. Always use a fresh mix (60% cactus/succulent soil + 40% perlite or pumice) to give your yucca a clean, fertile start. Pro tip: Sterilize the pot with a 10% bleach solution (rinse well) if reusing containers.
Wrapping up and next steps
Repotting your yucca plant isn’t just about giving it more space—it’s a chance to revitalize its growth and ensure it thrives for years to come. 🌱 With the right tools, timing, and care, you’ve got everything you need to tackle this task like a pro!
Whether your plant is root-bound or simply outgrowing its pot, this simple 5-step process will keep your yucca happy and healthy.
Now that you’re armed with knowledge, roll up your sleeves and give your yucca the fresh start it deserves. Ready to see those long, elegant leaves reach new heights? Head to your garden or balcony today and start repotting! Your plant will thank you with lush, vibrant growth.